Do you have fifteen minutes one time a week? I understand that as a busy parent you probably paused to honestly consider your answer.
But seriously, it takes me fifteen minutes to make a week’s worth of baby food.
Let me share some recipe ideas and tips to get you started on the right foot – all have been tested by a busy family of four, in a household with two under two.
Baby Liv is eight months now, but her adventures in food started at about four and a half months. I know at some point in her life she will eat whip cream on pop-tarts (a high school favorite of mine) or chocolate frosted donuts, but right now it is up to me to make sure she gets some good stuff to help her body and brain grow and thrive.
Your baby’s primary calorie and nutritional needs should still be met by breast milk or formula, so think of baby food as a supplemental learning experience for your little one.
I enjoy making baby food so I can control what is in it. Plus, we decided to skip the baby cereal and puffs since they don’t provide much nutritional value. Thankfully it seriously takes less than fifteen minutes to make a week’s worth of food – don’t get too hung up on the ingredient quantities, just scoop it in extra containers for the freezer!
*FYI the first two months we tested foods one by one for a few days to check for allergies, but since around six months we have been having fun with some yummy combinations*
Below are six quick ideas for a more interesting meal.
Make a batch and store a few days worth in the fridge, and any extra can go in the freezer in 1-2oz. containers.

– deli rotisserie chicken or cooked chicken breast, chicken or veggie stock, steamed sweet potato or squash, and unsweetened apple sauce – mix in blender
– unsweetened apple sauce, chia seeds, almond milk, and cinnamon – stir to combine
– cooked ground turkey, fresh pitted cherries, splash of breast milk or almond milk – mix in blender
– rinse a sweet potato, wrap it in a paper towel and steam it in the microwave on the potato setting. Then scoop out the insides and add a little cinnamon. Add breast milk or coconut milk to thin if needed.
– cooked black beans, peeled and pitted peach, vitamin D drops, mix in blender
– cooked garbanzo beans, blueberries, spinach, full fat Greek yogurt – mix in blender
Tips that have helped me make baby food prep easier:
– make baby food in bulk and store in 1-2oz. Containers. I use the XO ones!
– add vitamin D drops to your baby food containers so you don’t have to remember to get it out daily
– the baby food lasts in the fridge for at least three days, or if you make bulk you can freeze it and take one out to thaw in the fridge overnight. When ready to use, heat in microwave for 18 seconds
– no prep foods if you need something on the go: mashed banana, unsweetened apple sauce, mashed avocado
– serve purées right out of the fridge (cold) if your little one is teething
– steam fresh veggies make baby food prep so easy. Steam the veggie in the microwave then purée it in the blender. You can always throw in some spices or other foods on the back end for variety
– if you need more recipe ideas the book Sage Spoonfuls has been a great guide for feeding both my girls so that I know what is appropriate at each stage
– they sell reusable pouches if you want something less messy for mealtime. Just put your purées inside (in all fairness, I love this idea, but haven’t used mine yet)
As they get older, you can purée the food less to provide some food interest with texture.
Now that Liv is eight months and has two teeth, I try to give her at least one thing on her tray that she can feed herself (like steamed veggies, cheese, apples or bananas – in tiny pieces). Half usually ends up on her or the floor, but it keeps her and our dog VERY happy!
Can’t wait to hear your creative baby food ideas and tips!
*Always reach out to a Doctor with questions or concerns


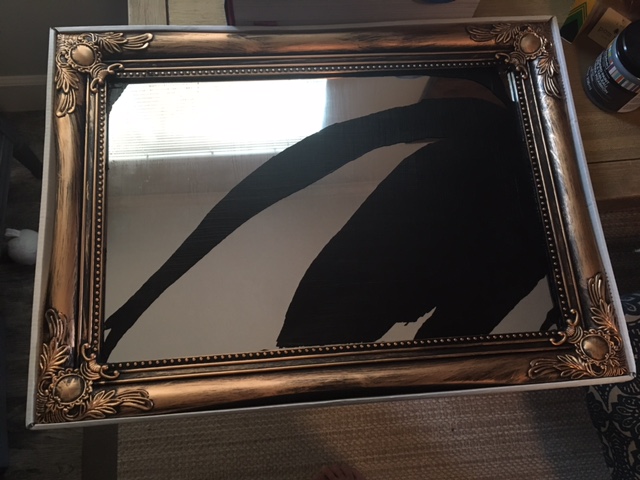
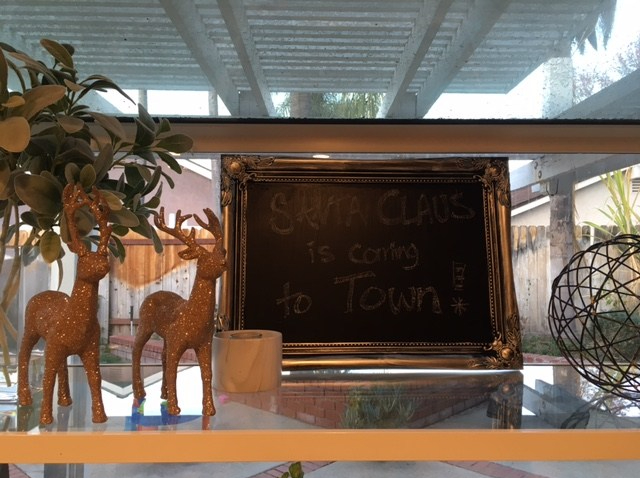
 already adorable and finished, and then personalizing it with a gold paint pen. Turns out, that I can handle.